I did manage to get some crafting done yesterday for a couple of challenges (just for a change!) and I've done you a little tutorial in the process. It's an Open Theme over at Top Tip Tuesday, so I'm entering my tutorial and tips for this challenge.
I'm loving doing these challenges - it makes a change to do some crafting for ME and I'm getting to use all the papers and stuff that have been hanging around my craft room for a while. Good all round!
Anyway, this is the card that I've got for you today -
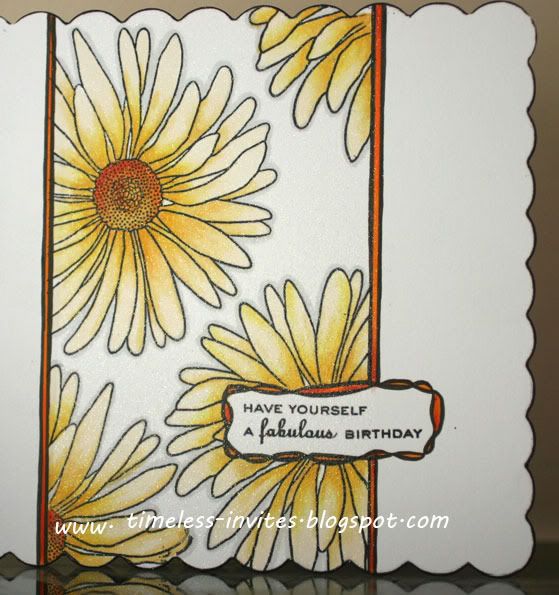
I've used a new stamp, and I love the 'bigness' of it (is that a word?). I love daisies too, so the I love Promarker challenge (Black, White and one other colour) was the perfect one to use it for. I also combined it with the Less is More Challenge (One Layer Card - in the Frame) as I am loving the clean and simple look of these challenges. Can you see the glitter?? That was the spray glitter from Crafters Companion - fantastic stuff! You can see it better on the photo below.
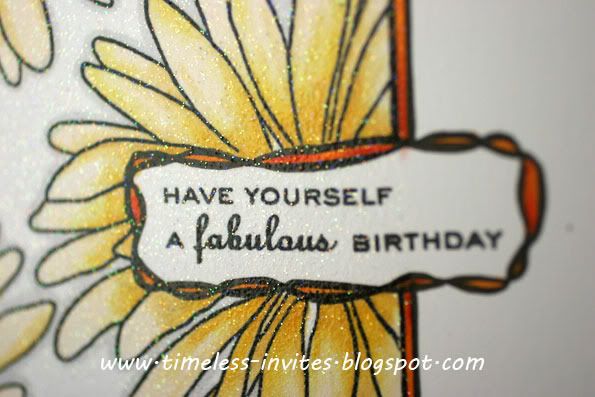
The greeting I've used here was a PI one, and it comes on a sheet with loads of tiny sayings on. Perfect for those little spaces where you need a word or two. And here's another picture showing the glitter.
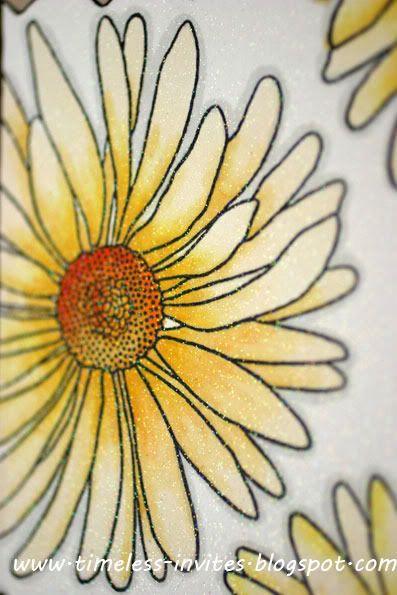
I've used Promarkers to colour, but added a little shading - right in the corners - with the Prisma pencils. It just added that little bit of depth.
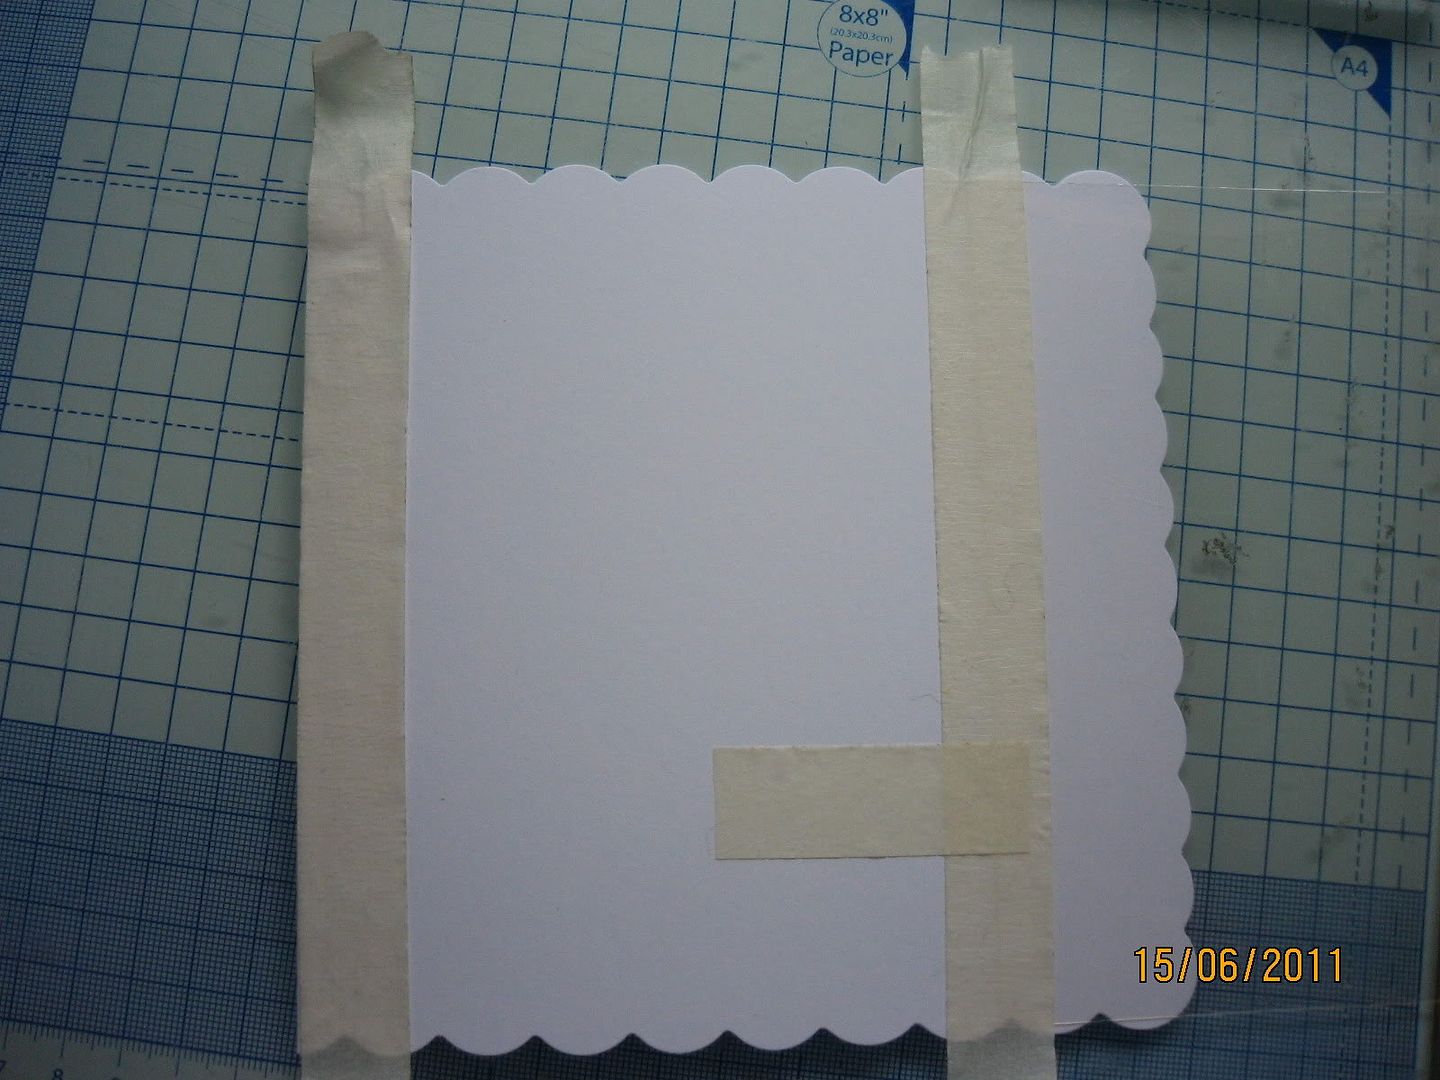
So. Onto the tutorial, and I wanted to show you how to do some MASKING so that you are not stamping all over the front of the card. This just makes it easier to keep things 'in the frame'.
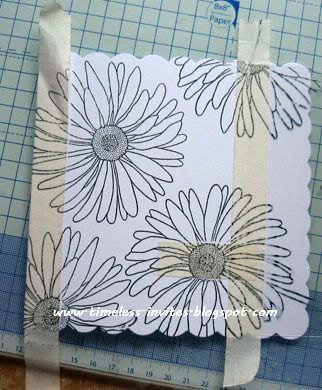
The first thing to do is to mask off the area of the card you're not wanting to stamp on. You can see here (almost) that I've layed a sheet of thin acetate to the right of the card, and held it in place with the masking tape. I've also applied a length of tape to the left to create a thin border. I also decided where I wanted my sentiment to go towards the bottom, and masked this too.
- Tip - Stick your masking tape to your clothes a couple of times to take off the excess stickiness. It helps to peel off the card without lifting any of the top layer.
- Tip - When you are trying to judge how much to mask off for your sentiment, stamp it onto masking tape then cut to length before sticking onto your card.
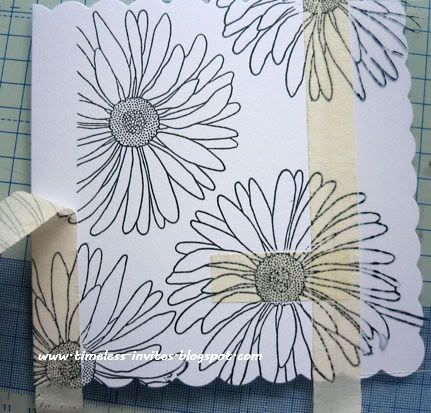
I then took my stamp and stamped across this central section of the card.
Now peel off the masking tape carefully
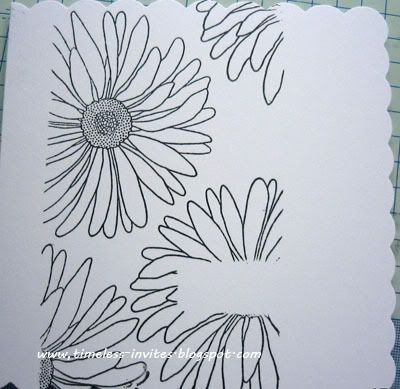
Once all the tape is peeled off, you can clearly see the edges of where you need to do the border if you would like one.
The first thing I did on mine was to draw in the sentiment box. I used a promarker black outliner and did a criss-cross style of box as I wanted to colour around it.
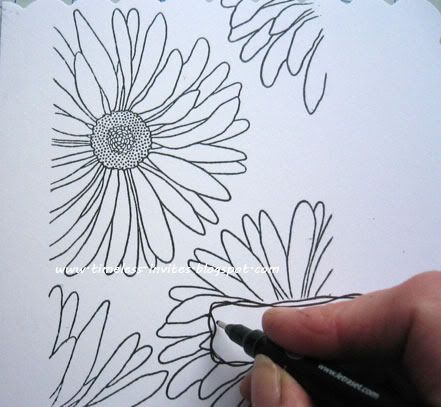
I then took my ruler and lined it up along the sides of the flowers. I drew a double border, again because I wanted to colour it in. You can draw a straight line, or a dashed or dotted line - the choice is yours really.
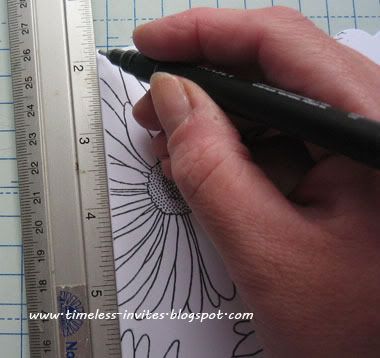
I used a black promarker to edge the card. I held the pen so that the nib was on the edge of the card and pulled it around. I only wanted a really fine edge.
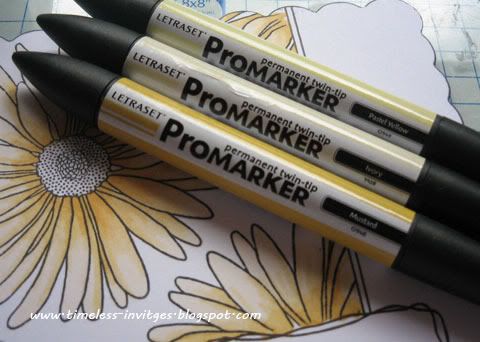
Next, take your colours and colour in the design. I've used Pastel Yellow, Ivory and Mustard to colour mine.
Here's the card with the daisies coloured in.
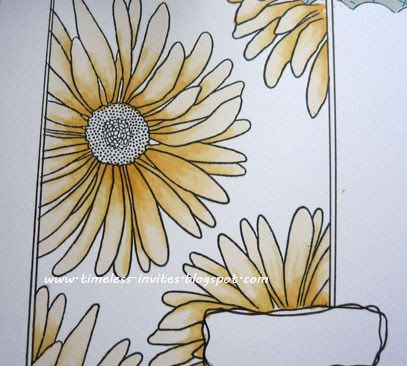
Now, when you've stamped your sentiment in the box (the PI stamps are clear so you can see where you're positioning them), colour in the borders and the flower centres. You can also see where I've added the shading to the daisies.
To finish the card, I laid a couple of sheets of inkjet paper either side of the border and sprayed on the glitter. This is what I used. I chose the irridescent version.

Until next time, happy crafting!
Lovely card Joanne and a great tutorial, I'm sure lots of people will take inspiration from this!
ReplyDeleteThanks so much for sharing it with us.
Chrissie
Lady LIM
"Less is More"
Fantastic card Joanne
ReplyDeleteSuper tut too
I have this stamp and lovr its 'bigness' too!
Thank you!
Diva LIM mandi
"Less is More"
Fantastic card and a great tutorial.
ReplyDeleteoh wow i love this card! the colouring is excellent and i need that stamp and glitter spray!
ReplyDeletethanks for the tutorial, im going to give the masking a try.
suzanne2
I think this is a really lovely card - and thanks so much for the tutorial too! The glitter spray is lovely. Yes, "biggness" is a word - at least here it is!! :)
ReplyDeleteA super card (love the big daisies) and thanks for taking the time to do the tutorial. xx
ReplyDeleteThis is a lovely card and I like the biggness of it. Thanks so much for the very detailed tutorial from someone who has never masked before! Carol x
ReplyDeleteohhh fab tutorial! Will have to come and try that one, fab card and the colours are wonderful! Thanks for playing along with us this week at Tip Top Tuesday with our anything challenge! Good Luck xx
ReplyDeleteFantastic tutorial and a beautiful card xx
ReplyDeleteGorgeous card and I love everything about it.
ReplyDeleteMaureen.......x
Great tutorial..and a beautiful card! Thanks for sharing!!
ReplyDeleteMy Card
A super card and a great tutorial
ReplyDeleteWOW great card and fabby Tip/tutorial! love this one!
ReplyDeleteThanks for joining us at Top Tip Tuesday this week, hugs Samantha
Beautiful sunny card. I love daisies! Great tut too. x
ReplyDeleteLovely card! Love the stamp, the coloring, the glitter, the....oh well....everything! :)
ReplyDeleteWhat a fantastic piece of work - thank you so much for sharing your amazing tutorial and fantastic tips with us too :)
ReplyDeleteThanks for joining in with our 'Open Challenge' this week over at Top Tip Tuesday :)
Good Luck.
Carol x
Gorgeous!!!
ReplyDeleteBeautiful card and great technique, thank you for joining us at I♥Promarkers
ReplyDeleteRuth x
A gorgeous card and a fab tutorial. I love that CC glitter spray. Thanks for joining us at I ♥ Promarkers.
ReplyDeleteJulie W x
Hi. Lovely card & plenty of sparkle. Thanks for joining us at I ♥ Promarkers.
ReplyDeleteTine :)